
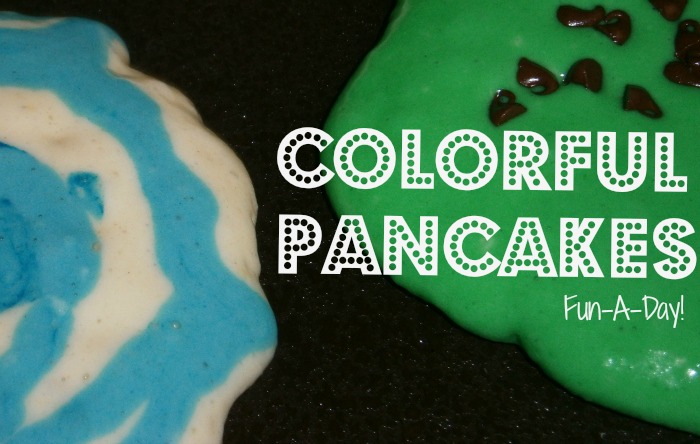
 The local school districts were closed once again due to icy conditions, so Engineer and I got to play with Snoopy and Little Hurricane all day! :) The boys and I had a great day, and the disaster that is my home is a testament to that! In the midst of the goofiness, we decided to make colorful pancakes for lunch
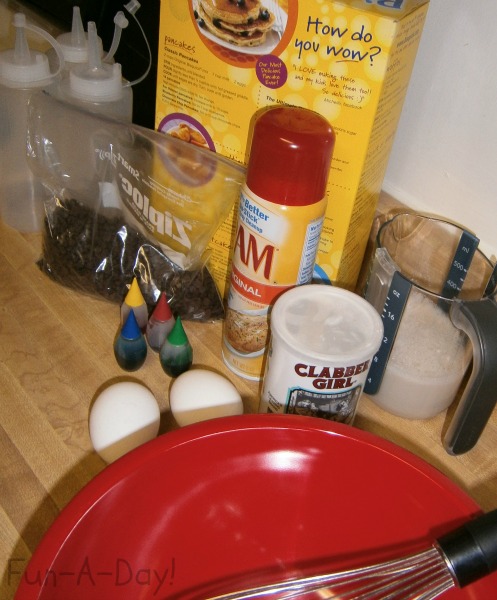
 I grabbed the supplies we needed — pancake mix, almond milk, eggs, baking soda, vegetable oil, sugar, mini chocolate chips, a mixing bowl, a whisk, plastic condiment bottles, and food coloring. I was sad to realize we didn’t have any vanilla in the house, as I love vanilla in my pancakes, but I soldiered on.
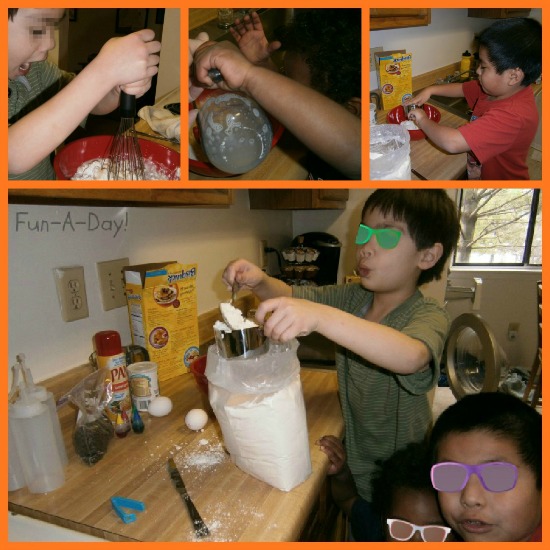
 Of course, the boys arrived as soon as they heard me puttering in the kitchen. After hands were thoroughly washed, I had them help me make the pancake batter. Engineer and Snoopy did most of the work, but Little Hurricane had fun helping when he could. Engineer really got into squishing the egg yolks as he mixed the batter!
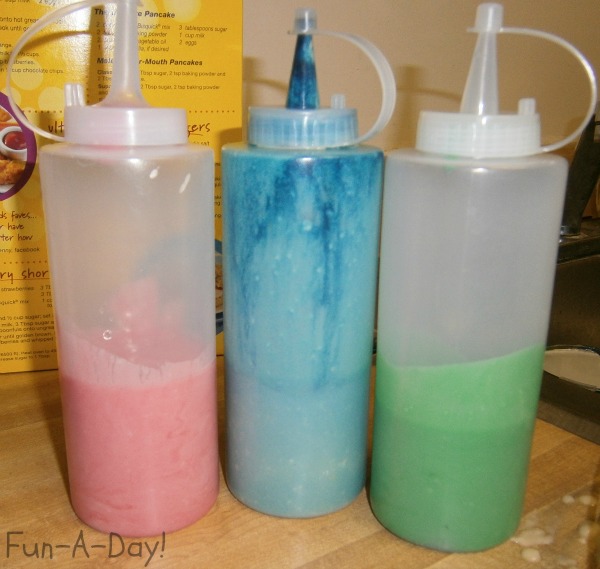
 Once the batter was ready to go, we chose the colors for our pancakes. After much debate between the older boys, we finally settled on green, blue, and red. I added some food coloring to portions of the batter, then transferred the batter to the condiment bottles. In case you’re wondering, it’s better to add food coloring to the batter before transferring it to the bottles. Just a lesson I learned today! If the boys hadn’t been helping, I wouldn’t have used the condiment bottles — I would have just used separate bowls.
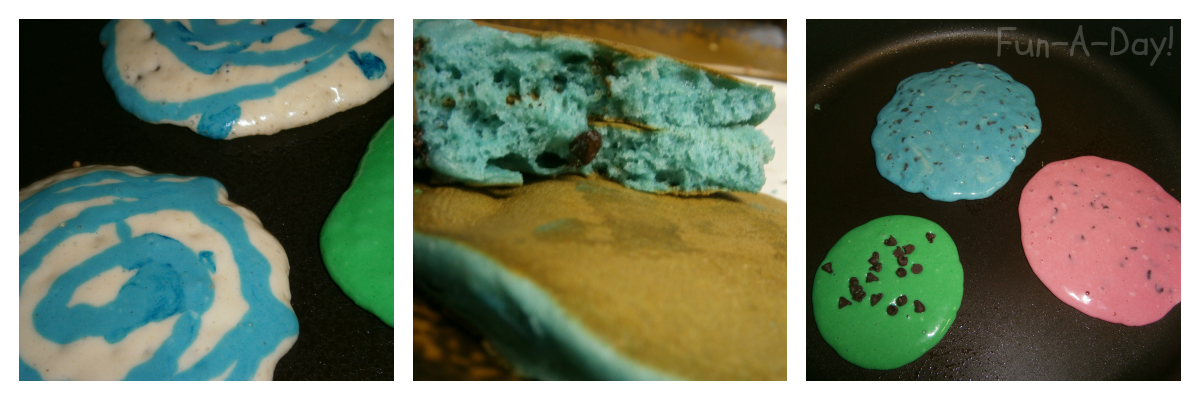
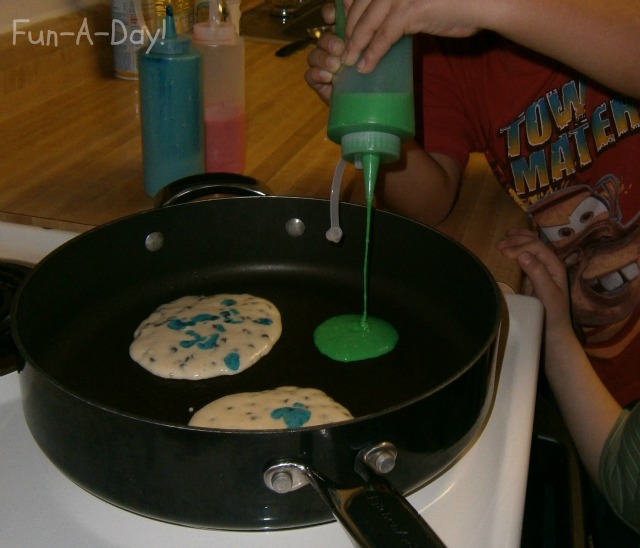
 The condiment bottles came in handy when Engineer and Snoopy were helping me cook the pancakes. For Engineer’s first batch, he went with a base of plain batter, adding blue dots and swirls on top. Snoopy just wanted a green pancake to start with, and the bottles helped him squirt just enough out onto the frying pan. The boys had been briefed on oven safety prior to this, many times, so I felt secure in letting them help with the cooking.
 From this point on, I was in charge of cooking up the pancakes. Once the first batch was done, the boys were focused on eating rather than cooking! Snoopy told me the colorful pancakes tasted better than regular pancakes. Engineer’s mouth was too full for a coherent response, so he just nodded his head in agreement! All of the boys ate 4 pancakes before finally declaring they were full! Thank goodness for that, as I was able to grab the last few for my own lunch!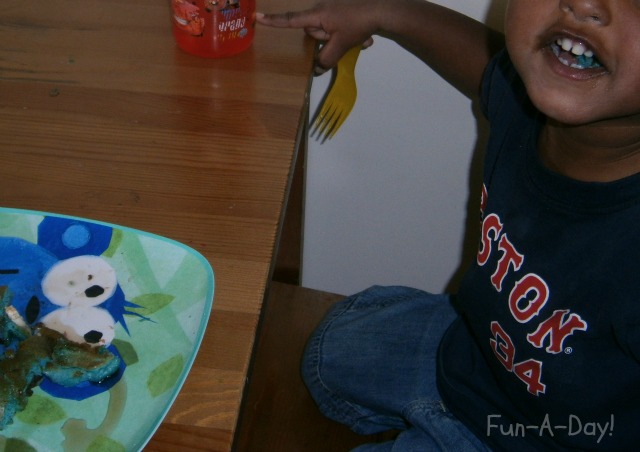
After lunch, Engineer said he’d had “fun being spoiled with the pancakes”! I thought that was pretty darn cute, but I know I’m a little biased. :) Snoopy chimed in, asking if we could have the fun pancakes the next time there’s no school. So I’d say today’s lunch was definitely a success!

This post was originally published on Fun-A-Day


