Sunday 31 March 2013

Papa'a Pillow Forts


When it comes to building things, Papa is our go to guy.
Whether it is train tracks, or pillow forts, Papa just has this out of the box way of thinking that makes for great outcomes.


When I build something, it turns out ok. It looks much like how I think it should.
But when he builds something, it comes out being this abstract, creative work of art.

With working a lot of hours lately, Papa tries to be sure and spend as much time with the girls as he can. Luckily, we co-sleep with both girls. So he gets all night snuggles which helps him stay connected with them. But some days he gets very little play time. So pillow forts are sometimes the greatest way for him interact with our little ladies.


The girls are all about it. Oh the giggles that follow one of his builds.
It is amazing to see how he has grown into such a great man. We have been together since we were only 15 and 16. And were the best of friends even before that! It will have been 8 years ago that he asked me to be his Valentine. Who says first loves don't last? It wasn't always easy, but we pulled it off.

Both girls love him so much. But Squirrely has a special bond with him. One that she has had with him ever since his hands were the first hands that held her tiny newborn self. Bunny has always been a bit of a Mama's girl, which I love. But Squirrely is Papa's girl. It is a good thing I breastfeed, or she wouldn't need me at all. With him, she is fearless. Because with him, she never has any reason to fear. Why fear falling when you know someone will always be there to catch you? He always has, from the very beginning.

This post was originally published on Like Mama ~ Like Daughter

Friday 29 March 2013

Doh Much Fun!


In case you missed our previous post about my homeschooling resolve in 2013, one of the things I’m focusing on is being less “boring” around my kids. So, I’m trying to add in more art play since everyone loves art in our house. Enter a morning of Play-Doh…
I’ve actually had this Play-Doh set for a while but we haven’t played with it nearly enough over the years.
Roo was content to sit and make Play-Doh ice cream all morning.
Pooh used multi-colored Play Doh to make some pretty colorful dreadlocks on a plastic pig.
As someone who has dreadlocks, I was only moderately offended.
Tigger made a blue mohawk on her purple rooster.
Pretty sharp, huh? I think I’m raising a house of future hairdressers.
Christopher Robin is home from work today, so we’re enjoying the day with him. Hope you’re all having a good day as well!

This post was originally published on Look! We're Learning

Thursday 28 March 2013

Fun With Hats


Most young children love dressing up and playing pretend.  I have to admit, I love watching Engineer get into make-believe.  My teaching partner and I often get the giggles watching our students in the home center, too!

Having a stash of pretend play clothes doesn’t have to be difficult or expensive.  One of the easiest things to do is have hats on hand for the kiddos.  Hats can be put on, and taken off, easily which allows for more independence by the children.  They don’t usually take up much room, and they’re less expensive than dress-up clothes.  Plus, you can make a hat out of pretty much anything — paper, scraps of fabric, headbands, etc.
With a hat, a child can go from a police officer
to a buffalo
to a builder
to an elephant
to a baker
to a scarecrow.
The children have so much fun with pretend play, but there are many educational benefits to it as well.  To begin with, young kids learn through play.  That’s how they explore the world, so even when it looks like they’re “just playing” their brains are getting a workout.  The language and vocabulary experiences are tremendous during play.  They’re able to practice speaking with their friends, and they also act as examples for each other.  The etiquette of conversation is also practiced during this time.
Kids can extend their knowledge of books and authors by acting out stories and dressing up like favorite characters.
They can also pretend to be different people — from community helpers to children in other countries to family members.
Wearing and making silly hats around the holidays lets the children learn more about their culture.  Even if the hats are goofy, it’s another way for the kids to connect with what they’re learning.  Plus, something about putting on a hat seems to make more children braver to try new things and act out what they’ve been taught.
What I’ve written here likely isn’t news to anyone.  It doesn’t hurt to hear a reminder once in a while, though!  Plus, isn’t it great to see so many cute, smiling faces?

This post was originally published on Fun-A-Day!

Wednesday 27 March 2013

Easter Crafts for the Kids


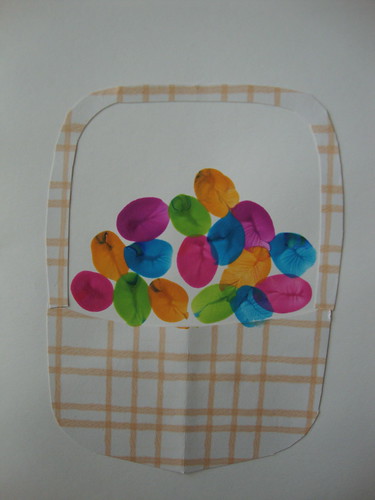
thumbprint egg basket
Thumbprint Easter Baskets from Silly Eagle Books


Easter Egg Collage from Mama's Like Me


Home made Easter Cards from A Thrifty Mum

rockin-peeps18ww-450x450
Rocking Peeps from Crafty Journal

Easter Craft
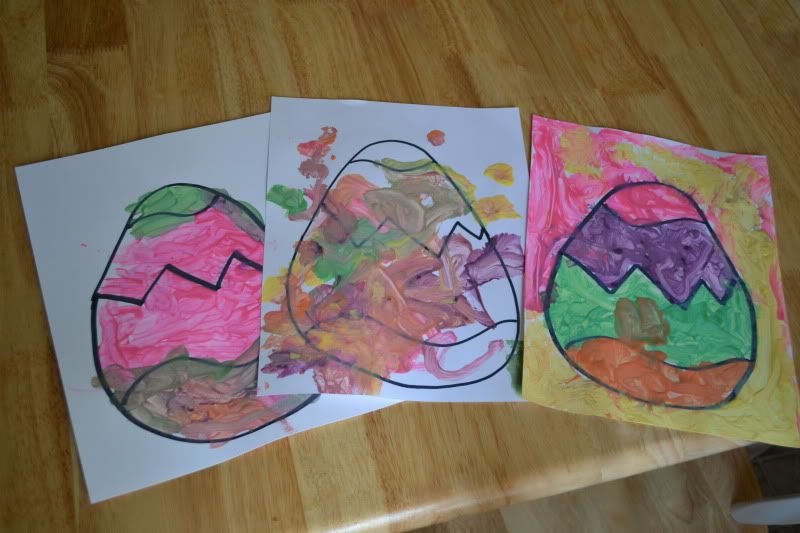
Egg Shell Painting from Blog Me Mom

Tuesday 26 March 2013

Monday 25 March 2013

A Muddy Day Outside


snow, mud, playing outside, preschool, kindergarten, water, trains
Yesterday, Engineer and I had a
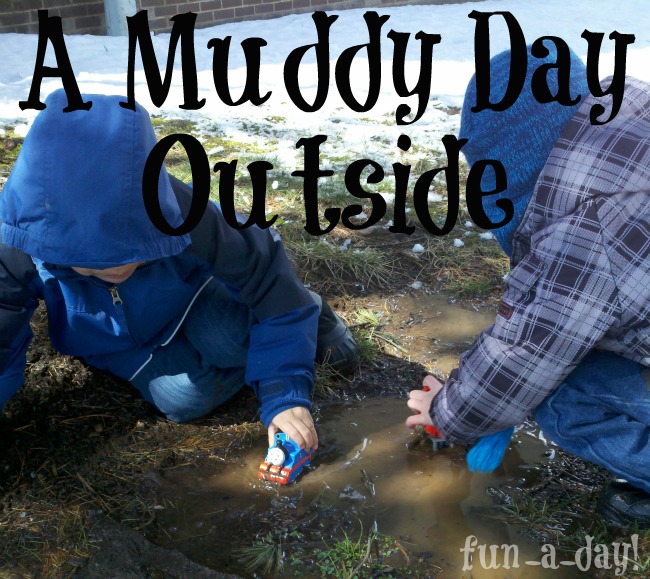
mud snow day.  All of the schools were closed because of sleet, slush, and snow.  Snoopy and Little Hurricane came over for part of the day, and we were looking forward to playing out in the little bit of snow on the ground.  
preschool, kindergarten, water, mud, snow, playing outside
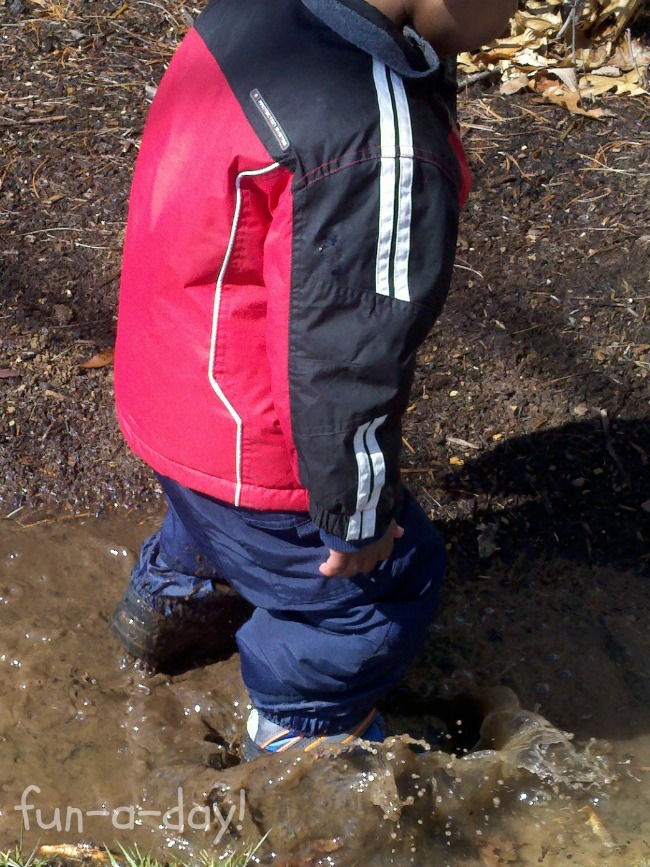
Of course, by mid-morning, the snow was already starting to melt!  The boys were rather disappointed at first, until they discovered the melting snow was leaving mud in its wake!  Then they were all about staying outside to play.
water, mud, playing outside, snow
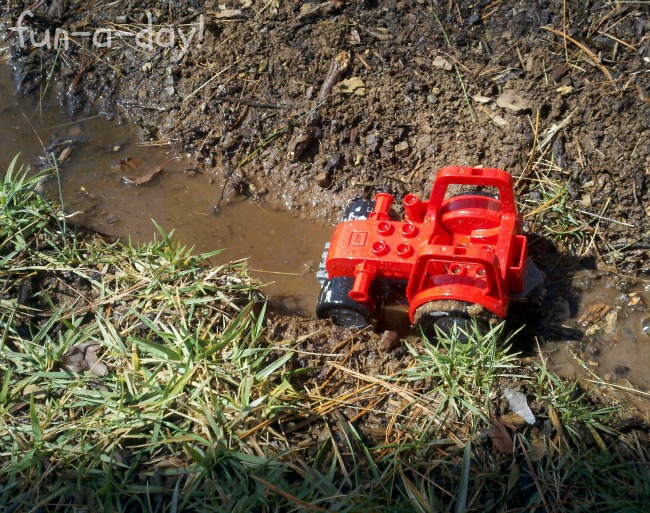
Snoopy used a Thomas the Train bath toy in the water and mud, while Engineer had a red toy tractor.  The older boys used the train and tractor to move mud and grass.  They also had fun making up stories involving mudslides, overflowing dams, and rivers gone wild.
mud, snow, water, playing outside
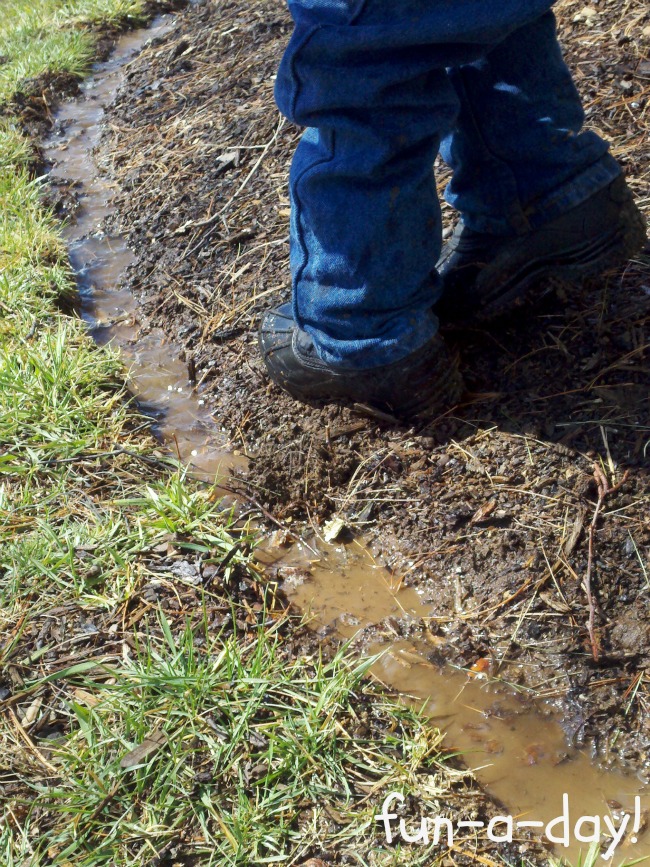
Little Hurricane spent most of his time jumping and splashing in every available puddle!  When he wasn’t doing that, he was looking at the water drain pipes.  His puddle-jumping drove the older boys crazy, but everyone was happy once he’d found a puddle in a different spot.
water, mud, snow, puddle jumping, playing outside
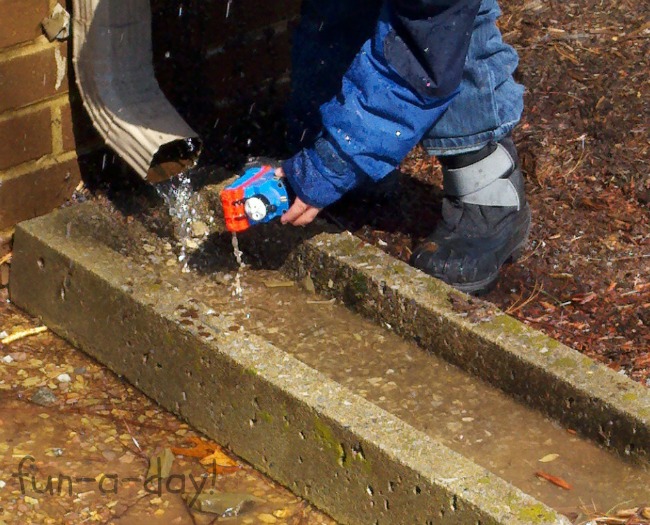
All of the boys were rather fascinated by the drain pipes and how they transport water.  Snoopy enjoyed using the draining water to clean off Thomas after playing in the mud and grass.  Little Hurricane just liked putting his hand into the flowing water (at least until his hands got too cold).  Engineer was focused on planning how to fix a leak higher up in the drain pipe!
water, mud, snow, playing outside, water drain
Yes, this was pretty messy play, but it was FUN.  If it hadn’t been for the cold winds and the boys’ need for food, we would have stayed outside the entire day!  This play helped the boys explore a variety of concepts through play:
  • States of matter (specifically solids and liquids)
  • Water’s phase changes (as ice warms, it changes to water)
  • Water flows in a downward direction
  • Water mixed with dirt creates mud
  • Ground soil absorbs water
How do your kiddos play with mud?

This post was originally published on Fun-A-Day!

Thursday 21 March 2013

Sensory Play with "Magic Muck"


You ever have one of those days when the kids are just bouncing off the walls but it’s too cold to go outside and you’re too broke to go anywhere else? Yeah, that was us one day last week. Plus, Piglet was nursing constantly and I was just exhausted and desperate for something for the kids to do. As a last resort, I went rummaging through our homeschool closet for a quick activity that wouldn’t be too messy or expensive.
Then I remembered this book.
I got this over a year ago, but I think we’d only made one thing from it before last week. (I’m really awful about that.) Anyway, I looked through it and ah-ha! Magic Muck sounded like a perfect time-filler, especially since our kids are extreme sensory seekers.
What is Magic Muck, you ask? It also goes by the name “Oobleck“, so you’ve probably heard of it before. It’s just cornstarch, water, and a bit of food coloring. But, the neat thing about it is that the mixture behaves differently, depending on how much pressure you apply. When you initially touch it in the bowl, it feels firm, but when you pick it up and squeeze it, it runs through your fingers like a liquid. Very cool.
We laid down some packing paper and stood at the table to feel it. Instead of giving each child his or her own bowl of it, I did a communal bowl to encourage everyone to stand still. I’m sure that if all the kids had a bowl, I would still be cleaning Muck off the walls a week later.
See how the texture looks firm in the bowl, but runny off of Tigger’s hand?
The funny thing about sensory play is that you never know how the kids will respond. Tigger and Pooh loved it. In fact, they’ve been asking to do it again every day since. Roo? Not so much. I brought him a bowl of water to rinse his hands in and he asked if he could just put his hands in that for play instead. Which he did happily for over 20 minutes.
To each his own…
Have you used sensory play with your kids? We’d love to hear about your experiences in the comments. Keep on learning!


This post was originally published on Look! We're Learning!

Wednesday 20 March 2013

Melty-Bead Art


For his birthday, Engineer received a kit with Perler beads . . . those colorful, little plastic beads used to make art.  We delved into them recently and have been enthralled ever since.
I have to be honest, I was a bit hesitant to try them at first.  They just seemed likely to get tossed around the house and lost under furniture.  After watching Engineer get into them, though, I was sold.  The plastic pieces are rather tiny, although I know they sell larger pieces for younger kiddos.  I believe the kit Engineer received was labeled for ages 6+.
As a teacher, I am totally amazed at the fine motor control involved in using the beads.  The beads come with plastic pegboards in different shapes and sizes, and there are more available for separate purchase.
Engineer and I worked together to create a few different shapes and designs.  The smaller pegboards were great for us beginners, as we didn’t need to use too many melty-beads.  At the beginning, we found ourselves knocking beads off and dropping them.  Engineer was a little frustrated by this, but not enough to stop playing.  We have since improved!
Once a pegboard design was finished, I carried it over to the ironing board.  I was very careful taking it to the ironing board, as I didn’t want to send all those beads flying!  I set the iron up to medium-heat, placed the ironing paper on top of the beads and began to iron.  Moving in a circular motion seemed to work well in terms of heat dispersion.  The beads expand in heat, and when I noticed they had all expanded well enough, I removed the iron and ironing paper.  Then I flipped the pegboard over, removed it, added the ironing paper, and ironed the other side.  This took me about 5 minutes to do — as I gain experience, I think the time will shrink a little.
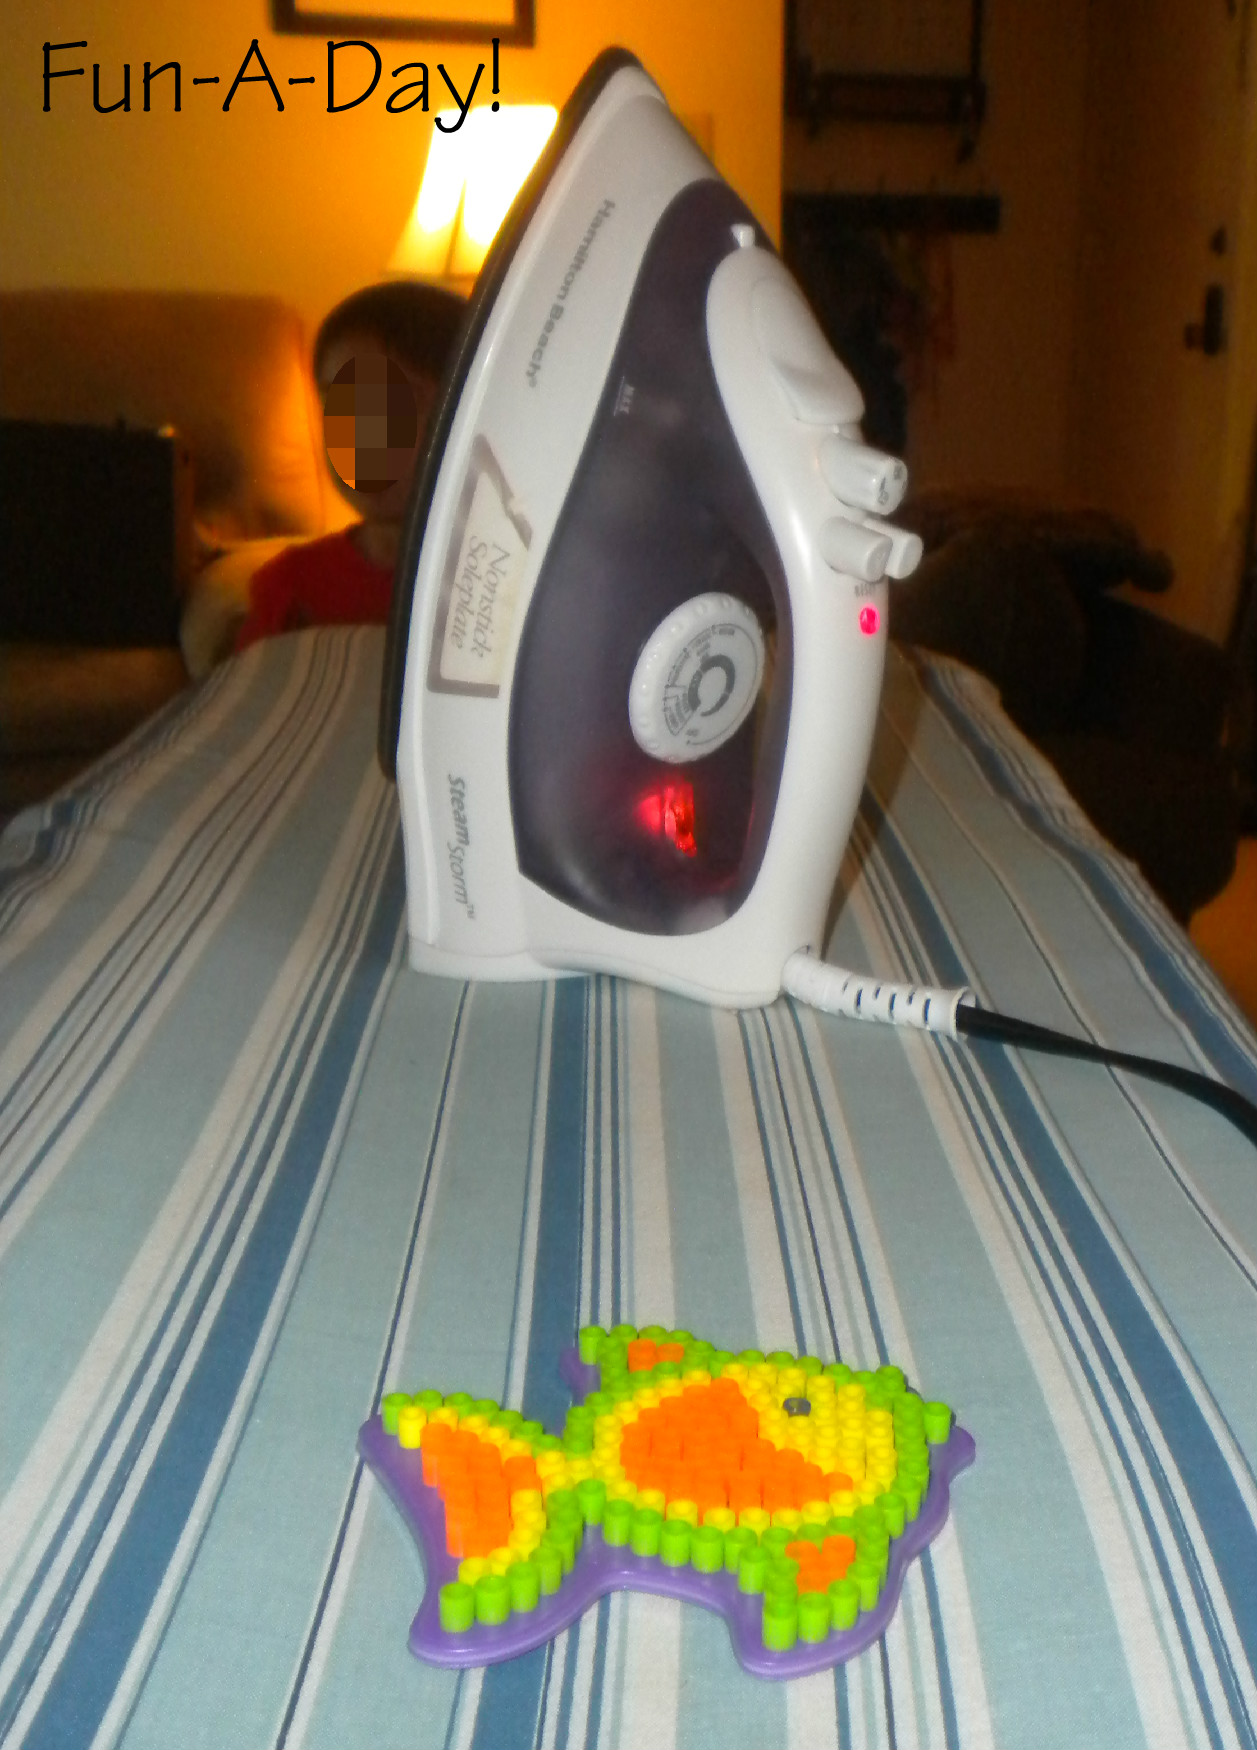
Since we had the melty-beads, I wanted to try the cookie cutter art here at Wooz.  It’s in Danish, and my computer didn’t want to work with me the first time I checked out the site, so I wasn’t able to get to the directions right away.  I was able to figure out that I needed to set my oven to 200 degrees, so I started with that.  I sprayed cooking spray around the inside of a few cookie cutters and placed them on a greased cookie sheet that I had coated in aluminum foil.  Then I added a layer of beads and popped them in the oven.  Nothing really happened after an hour, so I upped the temperature to 300.  The beads melted kind of funky, but Engineer and I liked the designs!
We also tried using cookie cutters as a guide on a pegboard.  We filled in the outline as best we could, then removed the cookie cutter.
After fixing the outline a bit, Engineer and I filled in the rest of the shape and ironed it just like the other pieces.  We rather liked our gingerbread man!
Another thing I would like to try is free-hand art with the beads.  All kinds of designs and pictures can be made, I’m sure.  Again, the teacher in me is really interested in using the beads to make children’s names (and letters and numbers and patterns)!  Hey . . . anything new, different, and fun can help expand the teaching arsenal!
After all this, Engineer and I had used up all our melty-beads!  A trip to A.C. Moore fixed that!  We purchased a large container of beads, a few more pegboard shapes, and some divided containers in which to sort the beads by color.  In case you’re wondering . . . no, I have no intention of sorting all 22,000 beads at once!  The kiddo and I have been sorting them in small increments just so it’s easier to find the colors as we make designs.
I was informed tonight that we need to go back and get some suction cups so we can hang our melty-bead art in the windows!  At the rate we’re going, I’m not sure how much window-space we’ll have in the near future!

This post was originally published on Fun-A-Day!
Related Posts Plugin for WordPress, Blogger...