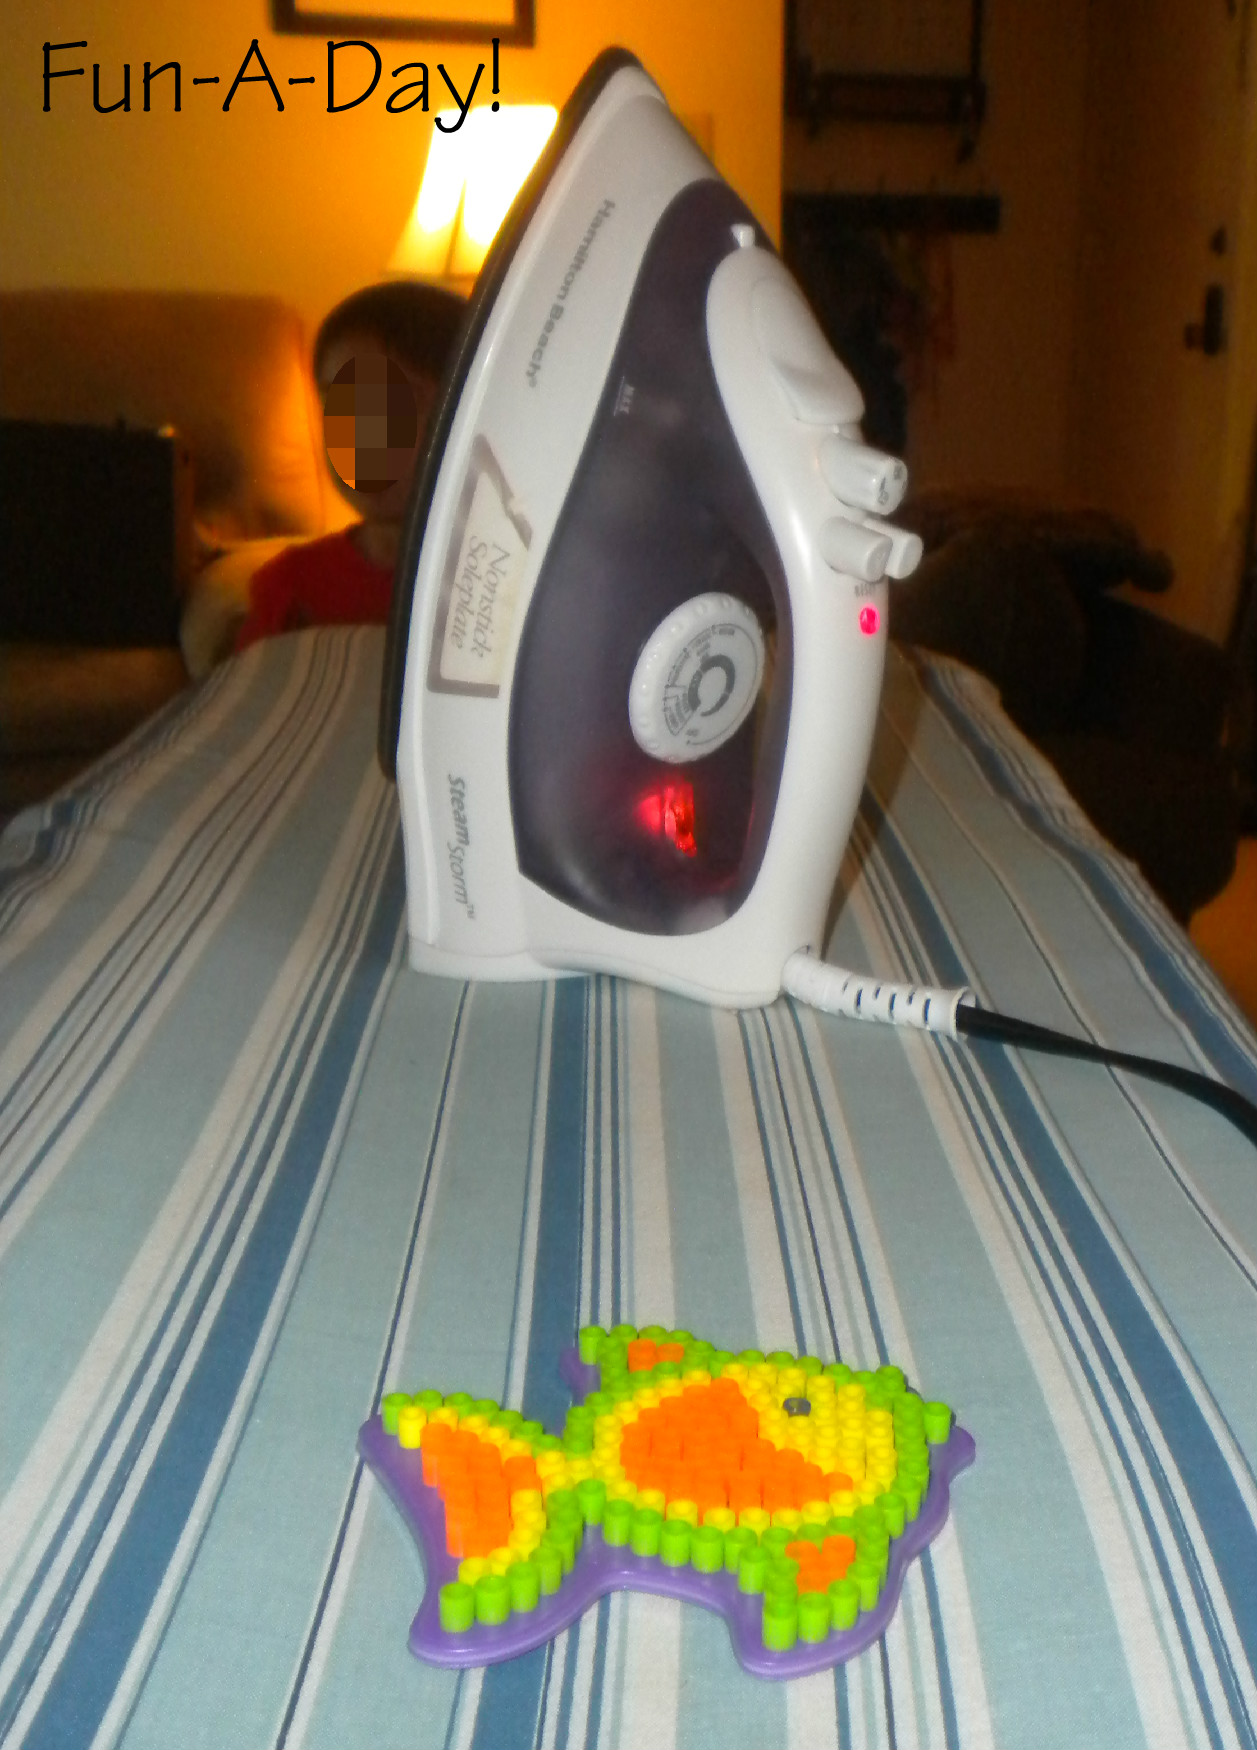
For his birthday, Engineer received a kit with Perler beads . . . those colorful, little plastic beads used to make art. We delved into them recently and have been enthralled ever since.
I have to be honest, I was a bit hesitant to try them at first. They just seemed likely to get tossed around the house and lost under furniture. After watching Engineer get into them, though, I was sold. The plastic pieces are rather tiny, although I know they sell larger pieces for younger kiddos. I believe the kit Engineer received was labeled for ages 6+.
As a teacher, I am totally amazed at the fine motor control involved in using the beads. The beads come with plastic pegboards in different shapes and sizes, and there are more available for separate purchase.
Engineer and I worked together to create a few different shapes and designs. The smaller pegboards were great for us beginners, as we didn’t need to use too many melty-beads. At the beginning, we found ourselves knocking beads off and dropping them. Engineer was a little frustrated by this, but not enough to stop playing. We have since improved!
Once a pegboard design was finished, I carried it over to the ironing board. I was very careful taking it to the ironing board, as I didn’t want to send all those beads flying! I set the iron up to medium-heat, placed the ironing paper on top of the beads and began to iron. Moving in a circular motion seemed to work well in terms of heat dispersion. The beads expand in heat, and when I noticed they had all expanded well enough, I removed the iron and ironing paper. Then I flipped the pegboard over, removed it, added the ironing paper, and ironed the other side. This took me about 5 minutes to do — as I gain experience, I think the time will shrink a little.
Since we had the melty-beads, I wanted to try the cookie cutter art here at Wooz. It’s in Danish, and my computer didn’t want to work with me the first time I checked out the site, so I wasn’t able to get to the directions right away. I was able to figure out that I needed to set my oven to 200 degrees, so I started with that. I sprayed cooking spray around the inside of a few cookie cutters and placed them on a greased cookie sheet that I had coated in aluminum foil. Then I added a layer of beads and popped them in the oven. Nothing really happened after an hour, so I upped the temperature to 300. The beads melted kind of funky, but Engineer and I liked the designs!
We also tried using cookie cutters as a guide on a pegboard. We filled in the outline as best we could, then removed the cookie cutter.
After fixing the outline a bit, Engineer and I filled in the rest of the shape and ironed it just like the other pieces. We rather liked our gingerbread man!
Another thing I would like to try is free-hand art with the beads. All kinds of designs and pictures can be made, I’m sure. Again, the teacher in me is really interested in using the beads to make children’s names (and letters and numbers and patterns)! Hey . . . anything new, different, and fun can help expand the teaching arsenal!
After all this, Engineer and I had used up all our melty-beads! A trip to A.C. Moore fixed that! We purchased a large container of beads, a few more pegboard shapes, and some divided containers in which to sort the beads by color. In case you’re wondering . . . no, I have no intention of sorting all 22,000 beads at once! The kiddo and I have been sorting them in small increments just so it’s easier to find the colors as we make designs.
I was informed tonight that we need to go back and get some suction cups so we can hang our melty-bead art in the windows! At the rate we’re going, I’m not sure how much window-space we’ll have in the near future!
This post was originally published on Fun-A-Day!


No comments:
Post a Comment